
Field Techniques for Portraits in Nature
Have you ever seen a stunning portrait taken in nature and wondered how the photographer achieved that perfect shot? Capturing portraits in the great outdoors can be magical. The combination of beautiful scenery and natural light can create stunning images. But how do you get the best results? Lets dive into field techniques for portraits in nature!
What Makes Nature Perfect for Portraits?
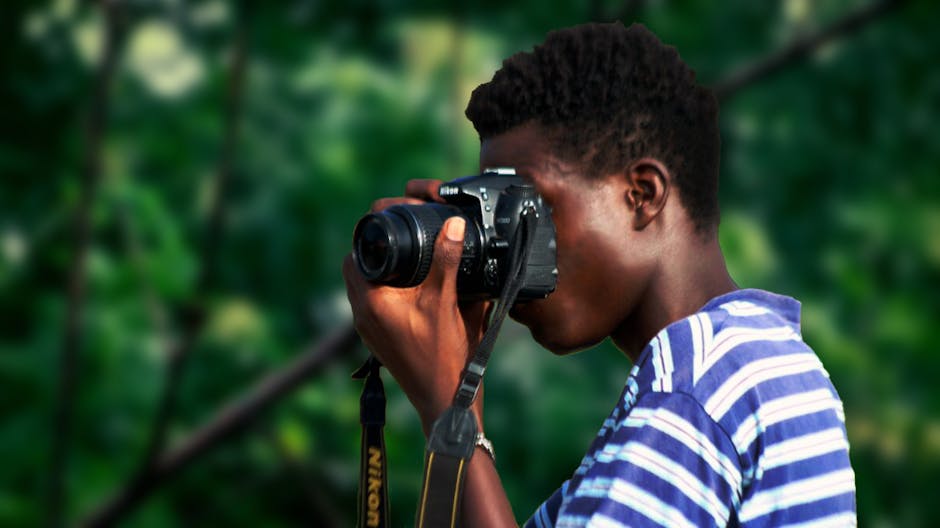
Nature provides a unique backdrop that enhances portraits. Think about it: every season offers different colors and emotions. Whether it’s the golden hues of autumn leaves or the bright greens of summer, nature can set the mood. Plus, natural light changes throughout the day, creating varied effects.
Research shows that natural light is often more flattering than artificial lighting. It softens skin tones and reduces harsh shadows. This is why many photographers prefer shooting outdoors. But where do you start?
How Do You Choose the Right Location?
Choosing the right spot is key. Look for locations that offer interesting backgrounds. Here are some ideas:
- Forests or wooded areas for a lush, green background.
- Beaches for wide skies and open spaces.
- Mountains or hills for dramatic views.
- Gardens or parks for colorful flowers and natural elements.
Before you shoot, visit the location at different times of day. This helps you see how the light changes. Early morning and late afternoon are often the best times for soft, golden light. Avoid harsh midday sun, which can create unflattering shadows.
What Are the Best Camera Settings for Outdoor Portraits?
Now that you have your location, what about your camera settings? Understanding these can make a huge difference:
- Aperture: Use a wide aperture (like f/2.8 or f/4) to create a blurred background. This helps focus on your subject.
- ISO: Keep your ISO low (100-400) for crisp images in bright light.
- Shutter Speed: Choose a fast shutter speed (1/250 or faster) to stop motion and avoid blur.
These settings work well in most daylight conditions. But don’t be afraid to experiment. Each shoot is unique!
How Do You Position Your Subject?

Getting the right pose is crucial for a great portrait. Here are some tips:
- Encourage your subject to relax. A genuine smile often comes from being comfortable.
- Use the environment. Have them lean against a tree or sit on a rock to create a natural look.
- Vary the angles. Take shots from different heights or sides. Sometimes a slight tilt can make a big difference.
don’t forget to communicate! Give clear directions, but also let them express themselves. This balance can lead to stunning results.
What About Lighting Considerations?
Lighting can make or break a portrait. Here are some strategies to handle it:
- Golden Hour: This is the time shortly after sunrise or before sunset. The light is soft and warm, perfect for portraits.
- Use Reflectors: If the light is too harsh, reflectors can bounce light back onto your subject. You can even use a white sheet or a piece of cardboard!
- Find Shade: If it’s too bright, look for shaded areas. This helps avoid harsh shadows on your subject’s face.
Testing different lighting conditions can teach you a lot. don’t hesitate to move your subject around until you find the best light!
How Can You Incorporate Movement?
Adding movement can create dynamic and lively portraits. Here are some ideas:
- Ask your subject to walk towards you. Capture the moment as they move.
- Have them twirl or throw leaves. The action can add energy to your images.
- Shoot candid moments. Sometimes the best portraits happen when the subject is just being themselves.
Experimenting with movement can lead to unexpected and beautiful results. don’t be afraid to try new things!
What Should You Avoid While Shooting Outdoors?
There are some common pitfalls to watch for. Heres what to avoid:
- Busy backgrounds that distract from your subject. Look for clean, simple areas.
- Overexposed highlights. If the sun is too bright, it can wash out details.
- Forgetting about the wind. It can mess up hair and clothing. Be mindful of the conditions.
Being aware of these issues can help you create better portraits. Always take a moment to look around before shooting.
How Can You Edit Outdoor Portraits?
Editing can enhance your images. Here are some basic tips:
- Adjust the brightness and contrast to make your subject pop.
- Crop the photo to improve composition. Remove distracting elements.
- Use filters sparingly. They can add a nice touch, but don’t overdo it.
Many free and paid editing programs can help. Try out a few to see which one you like best! And remember, editing is about enhancing your vision, not changing the scene entirely.
What Are the Key Takeaways for Great Outdoor Portraits?
Capturing stunning outdoor portraits takes practice, but these tips can help you get started:
- Choose the right location and time of day.
- Understand your camera settings.
- Focus on lighting and use natural elements creatively.
- don’t forget to engage with your subject!
With these techniques, you’re on your way to creating beautiful portraits in nature. Remember, the more you practice, the better youll get. Each photo is a chance to learn!
For more tips on photography, check out Photography Tips. Happy shooting!